Languages
Products
telephone
(+39)0773.52.30.14
fax
(+39)06.233.234.260
e-mail
info@sinergroup.it
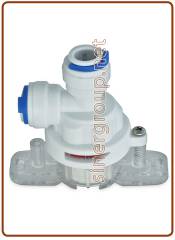
Mechanical leaking sensor 1/4" (200)
Informations
Code:
01013004-01
Weight:
0.04 Kg
Description
Mechanical leaking sensor 1/4" (200)
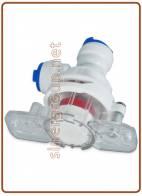
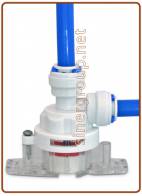
click on images to enlarge
Full description
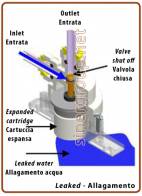
This exclusive leak protector not merely detects leaks, but it also shuts off the flow that comes from a drinking water system if there is a leak. This device is designed to eliminate any possible damage to houses and business property.
Functioning:
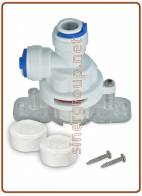
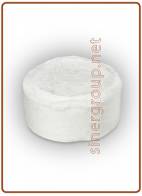
The device is patented and its functioning is incredibly simple. When a leak occurs, the adsorbent applicator towel-coin will expands to close the valve and shut off the incoming water supply. Two tablets are included with each Leak Protector, and replacement tablets are available, packaged two per pack.
Specifications:
1/4 inch connections
Maximum operating pressure= 100 psi / 6.89 bar
Maximum ambient humidity= 70%
Installation:
Valve Installation
Step 1: Turn off the water supply to the filtration system at the cold water source valve.
Step 2: The leak detecter should be installed flat, on the lowest ground point near the filtration system so if there will be a leak, the water will flow in the direction of the valve.
Step 3: Clean the designated installation area with rubbing alcohol.
Step 4: Peel the red backing tape from the two mounting feet on the base of the shut off valve and press down firmly over the chosen install area. You may also mount the valve using the screws included in the kit.
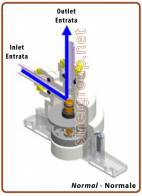
Step 5: Cut the systems water supply tube to splice in the valve. Connect the tubing from the water source valve to the horizontal fitting on the shut off valve labeled “in” by pushing the tubing in firmly until fully seated.
Step 6: Connect the tubing that leads from the filtration system to the vertical fitting on the shut off valve labeled “out” by pushing the tubing in firmly until fully seated.
Step 7: Turn on the water supply to the filtration unit and check for leaks.
Replacing the towel-coin:
Step 1: Turn off the water supply to the cold water valve.
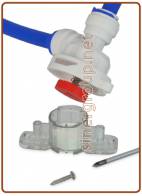
Step 2: Using a Phillips screwdriver, loosen and remove screw from the top of the valve.
Step 3: Twist the upper white assembly counter clockwise, lift up and remove old towel-coin.
Step 4: Make sure the valve and the surrounding area is dry before replacing the towel-coin.
Step 5: Insert the new applicator towel-coin into the clear plastic housing.
Step 6: Replace the upper white cap onto the clear plastic base by twisting it clockwise until il will be seated.
Step 7: Replace Phillips screw and tighten (do not over tighten as this may damage the valve unit).
Step 8: Turn on the water supply to the filtration unit and check for leaks.
CAUTION:
Keep Leak Protector Replacement Cartridges (pads) out of the reach of children.
Related products


